 Tar Pit Yoga
Restorative Yoga for Tight Hips: 5 Gentle Poses for Psoas & Lower Back Relief
Prolonged computer sitting keeps your deep hip flexors in sustained contraction for 8 hours a day, pulling your lumbar spine into painful compression. Here is how gentle, supported restorative yoga releases the stubborn psoas without aggressive joint torque.

Core Hip Rule: Never force an aggressive stretch into a locked hip socket. Support the joints with gravity so the nervous system releases muscular guarding.
The Biomechanics: Why Your Hips Lock Up from Sitting
The primary muscle responsible for hip tightness is the Iliopsoas, the only muscular bridge connecting your spine directly to your legs:
- Spinal Origin: The psoas originates on the sides of the T12 through L5 vertebrae in your lower back.
- Femoral Insertion: It crosses through the pelvic basin and attaches to the inside of your upper thigh bone (lesser trochanter).
When you sit at a desk, your hips are bent at 90 degrees. Over weeks and months, the psoas adapts to this shortened length (adaptive contracture). When you finally stand up, the tight muscle acts like a shortened guitar string—it physically yanks your lumbar vertebrae forward and down into Anterior Pelvic Tilt, jamming the facet joints together.
In evolutionary biology and Dr. John Sarno's TMS framework, the psoas is wired directly to the autonomic nervous system. Under psychological stress, work deadlines, or chronic anxiety, the brain initiates a subtle fetal flexor response, tensing the hips to protect the abdomen. Deep parasympathetic breathing on our Breath Pacer turns off this neural clenching.
The Danger of Forcing "Pigeon Pose"
The most common mistake people make with tight hips is forcing themselves into traditional King Pigeon Pose (Eka Pada Rajakapotasana) on the floor.
Why this backfires: If your hip capsule lacks 45 degrees of external rotation, your body will compensate by twisting through the knee joint. This places dangerous shearing force on the lateral collateral ligament (LCL) and tears the medial meniscus.
In restorative yoga, we replace forced floor poses with supported supine variations that give 100% of the hip benefit with 0% knee strain.
The 5-Step Restorative Hip & Psoas Routine
1. Reclining Figure-4 / Modified Pigeon (Supta Kapotasana)
Primary Function: Decompresses the piriformis, gemelli, and obturator muscles without shearing the knee joint.
Execution Cue: Flex the ankle of the crossed foot to 90 degrees. This locks the fibular head and completely protects the knee.
- Lie flat on your back with knees bent and feet flat on the floor.
- Cross your right ankle over your left knee, creating a figure-4 shape. Flex your right foot firmly.
- Reach your hands around your left hamstring and gently draw the left knee toward your chest.
- Keep your head and shoulders flat on the mat. Hold for 10 slow, deep diaphragmatic breaths, feeling the deep glute and lateral hip soften. Repeat on the left side.
2. Low Crescent Lunge with Pelvic Tuck (Anjaneyasana Modification)
Primary Function: Isolates and lengthens the deep iliopsoas without overarching the lower lumbar spine.

Execution Cue: The secret is the posterior pelvic tuck: scoop your tailbone under before lunging forward.
- Kneel on your mat. Step your right foot forward with knee bent at 90 degrees directly over the ankle.
- Rest your left knee on a folded blanket for cushioning.
- Before moving forward, consciously tuck your tailbone down and pull your belly in. Squeeze your left glute.
- Shift forward just 2 to 3 inches while keeping your torso perfectly vertical. You will feel an intense, localized stretch at the front rim of your left hip. Hold for 45 seconds, then switch legs.
3. Supported Reclining Butterfly (Supta Baddha Konasana)
Primary Function: Relaxes hypertonic inner adductor muscles and down-regulates pelvic floor tension.
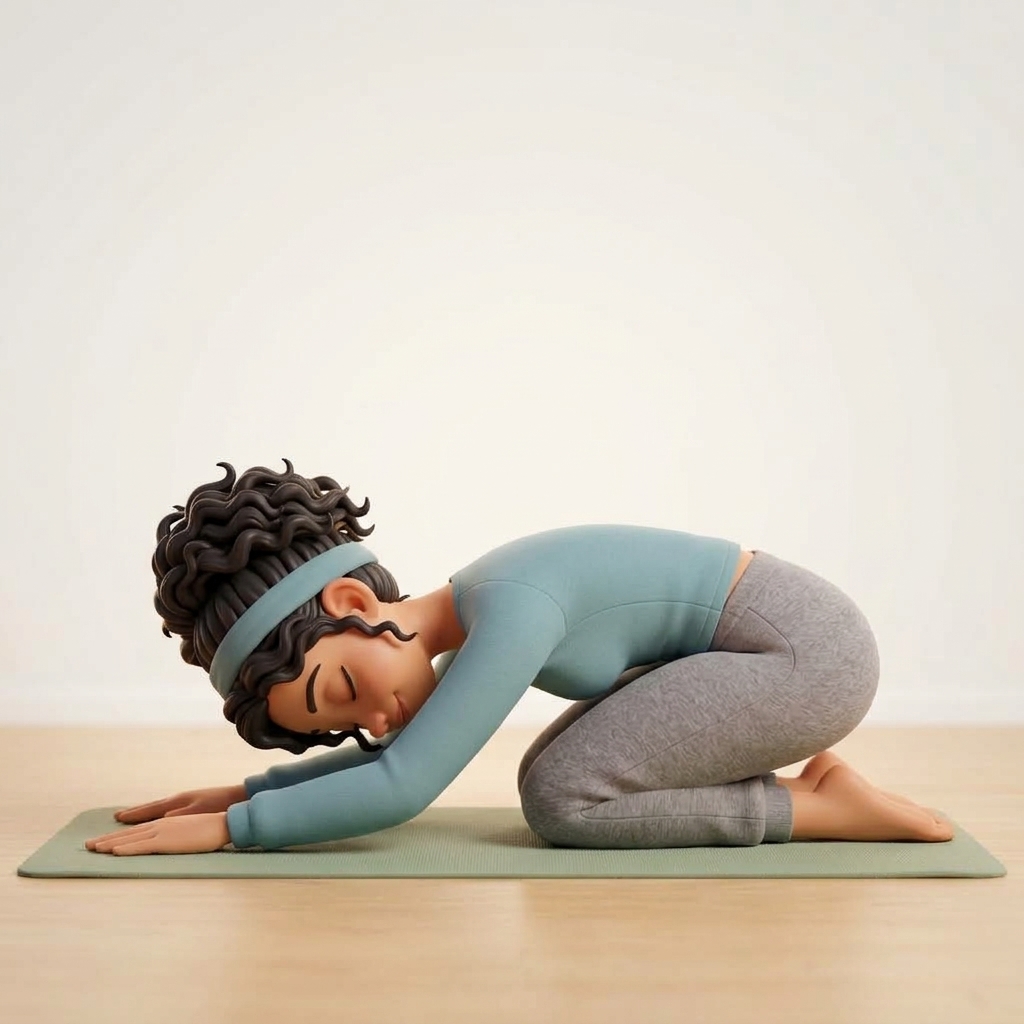
Execution Cue: Place yoga blocks or pillows beneath your outer knees so your groins do not strain against gravity.
- Sit on your mat and bring the soles of your feet together, letting your knees drop open to the sides.
- Lie back comfortably onto the mat (or a bolster under your spine).
- Slide pillows beneath your outer thighs so your legs feel completely supported.
- Rest one hand on your heart and one hand on your belly. Breathe softly for 3 full minutes, letting the hip capsules passively unwind.
4. Restorative Reclining Spinal Twist (Supta Matsyendrasana)
Primary Function: Lengthens the tensor fasciae latae (TFL), IT band, and outer hip rotators.
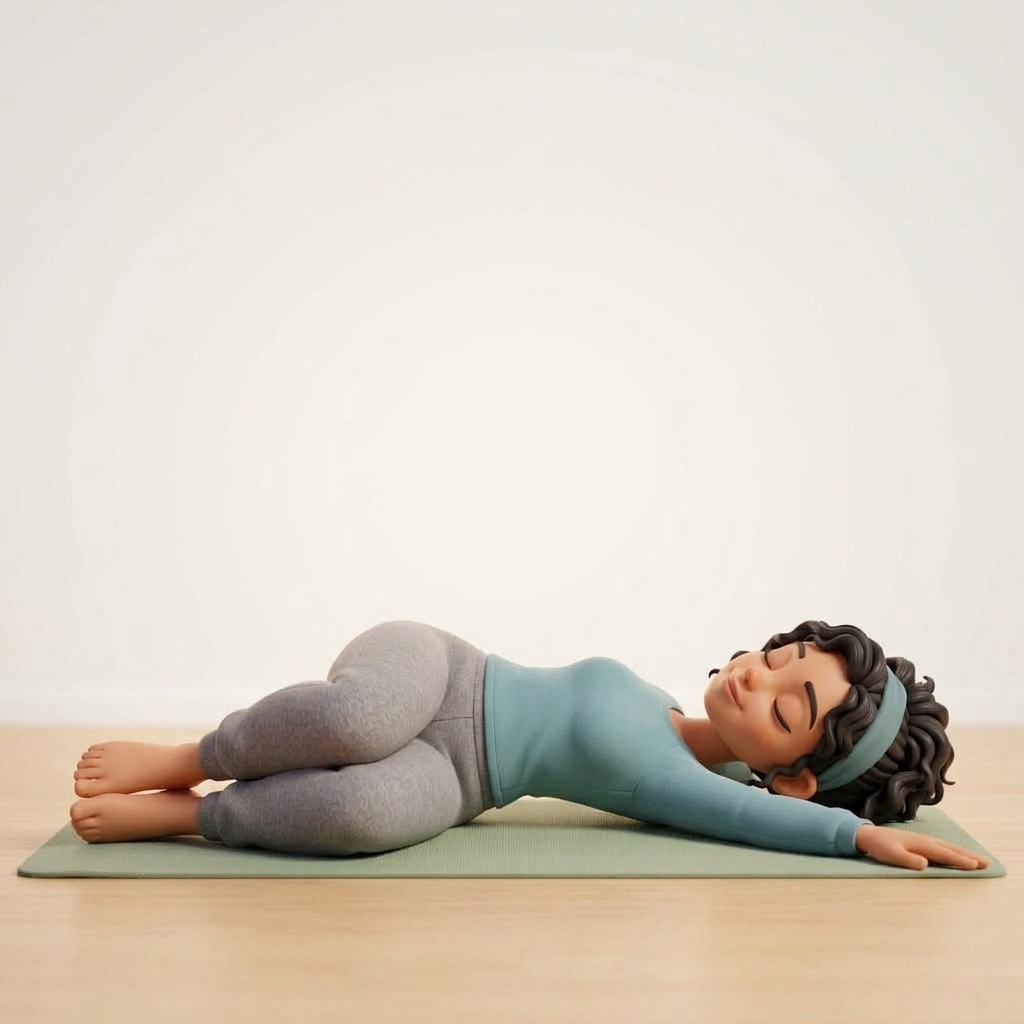
Execution Cue: Keep both shoulder blades pinned to the floor. Let gravity rotate the hips effortlessly.
- Lie on your back with arms extended in a wide T-shape, palms facing up.
- Bend both knees, lift your hips, and shift them 1 inch to the right.
- Let both knees drop softly over to the left side of your body. Place a cushion between or beneath your knees for optimal pelvic support.
- Close your eyes and breathe deeply into your right outer hip for 2 minutes, then repeat on the opposite side.
5. Legs-Up-The-Wall Wide V-Straddle (Viparita Karani Variation)
Primary Function: Reverses venous blood pooling from desk sitting while gently releasing inner hip flexors.

Execution Cue: Let gravity pull your legs open into a soft V-shape. Never push or force your knees wider.
- Sit close to an open wall, swivel your hips, and extend your legs up the wall.
- Slowly allow your feet to slide outward into a gentle V-shape until you feel a pleasant, passive stretch in your inner thighs.
- Rest your arms at 45 degrees, close your eyes, and allow the femur heads to sink deeply into the hip sockets.
- Remain in this posture for 3 to 5 restful minutes to reset the nervous system.
If your office chair seat pan is too low or tilted backward, your hips are pinched at a sharp 75-degree angle all day, guaranteeing hip flexor contracture.
→ Calculate Your Chair Setting: Use our Interactive Ergonomic Desk & Chair Height Calculator to find your popliteal seat height, or check your posture on our 60-Second Posture Test.
Frequently Asked Questions About Tight Hips
How often should I do this hip opening sequence?
For best results, practice this 10-minute restorative sequence 3 to 5 times per week, ideally in the evening or immediately following a long computer work block to reverse daytime hip shortening.
Why do my hip flexors pop or click when I exercise?
A painless clicking or popping sound in the front of the hip (snapping hip syndrome) is typically the psoas tendon or iliotibial band sliding over the bony pelvic prominence. Gently lengthening the psoas with low lunges and strengthening the glutes resolves the snapping.
Can tight hips cause sciatica?
Yes. The piriformis muscle is a deep hip external rotator. When tight hips restrict normal gait mechanics, the piriformis spasms in compensatory stabilization, pinching the sciatic nerve beneath it. (See our clinical Yoga for Sciatica Guide).
← How to Fix Anterior Pelvic Tilt 5 Restorative Poses for Back Pain →