 Tar Pit Yoga
The 5 Best Yoga Poses for Lower Back Pain Relief (Somatic Protocol)
If you are dealing with chronic lumbar tightness, sciatica, or recurring back spasms, aggressive stretching can trigger more muscular defense. Here is the gentle, neuroplastic routine designed to restore blood flow, decompress vertebrae, and retrain the brain to release tension.
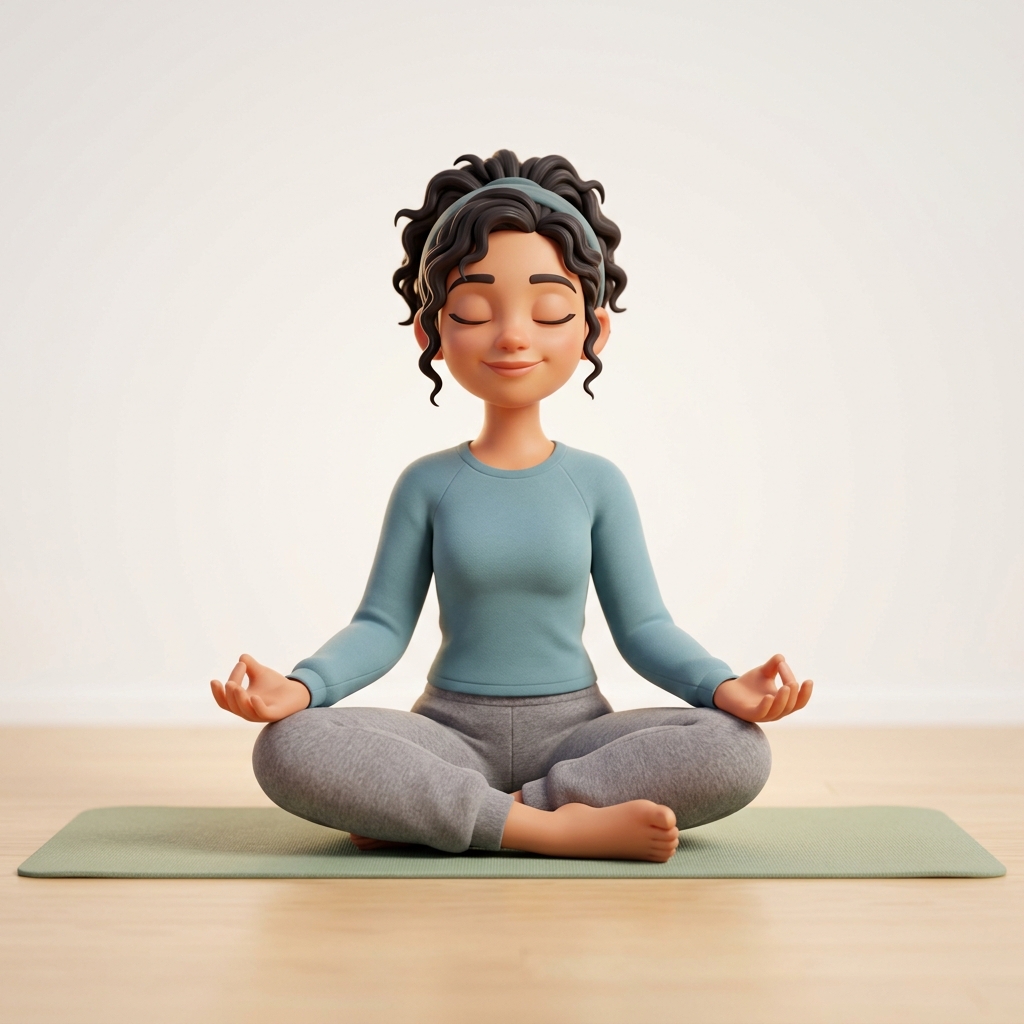
Core Rule: Move with ease, never force into sharp pain. Breath is your nervous system's safety signal.
Why Traditional Back Stretches Often Backfire
When back pain strikes, natural instinct tells us to aggressively stretch hamstrings or crack our lumbar spine. But as demonstrated in the research of Dr. John Sarno and modern pain neuroscience, chronic back pain is rarely caused by "tight" muscles alone—it is driven by an overactive sympathetic nervous system holding muscles in a protective spasm.
The goal of Tar Pit Yoga is not to contort into complex shapes. It is to perform gentle, reassuring micro-movements that prove to your subconscious that your spine is durable, adaptable, and safe.
Perform these 5 poses once in the morning and once before bed. Hold each pose for 6 to 10 deep belly breaths. No special equipment required—just a comfortable mat or carpet.
Pose 1: The Cat-Cow Spinal Wave (Marjaryasana-Bitilasana)
Target Area: Entire lumbar and thoracic spine • Hold Time: 10 slow breath cycles
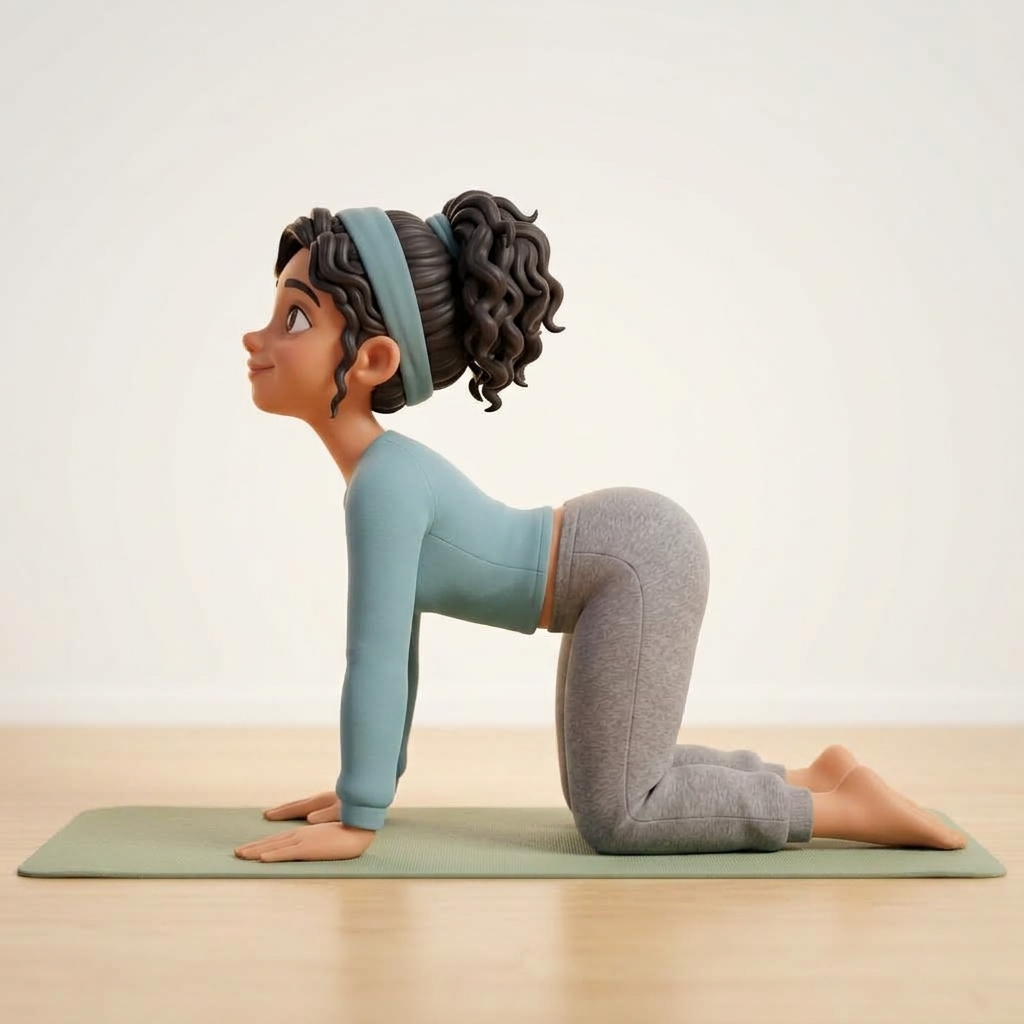
Alignment Tip: Keep shoulders away from ears; initiate the wave from your tailbone.
How to do it:
- Begin on all fours (tabletop position) with wrists beneath shoulders and knees beneath hips.
- Inhale (Cow): Drop your belly toward the mat, gently lift your chest and gaze upward, tilting your pelvis forward.
- Exhale (Cat): Draw your navel toward your spine, round your back toward the ceiling, and tuck your chin gently to your chest.
- Repeat for 10 fluid cycles, moving strictly at the pace of your natural breathing.
Why it works: Cat-Cow acts as a gentle pump, increasing synovial fluid circulation through spinal facet joints and rehydrating intervertebral discs without axial load.
Pose 2: Supported Child’s Pose (Balasana)
Target Area: Lower back, lumbosacral junction, and hips • Hold Time: 1 to 2 minutes
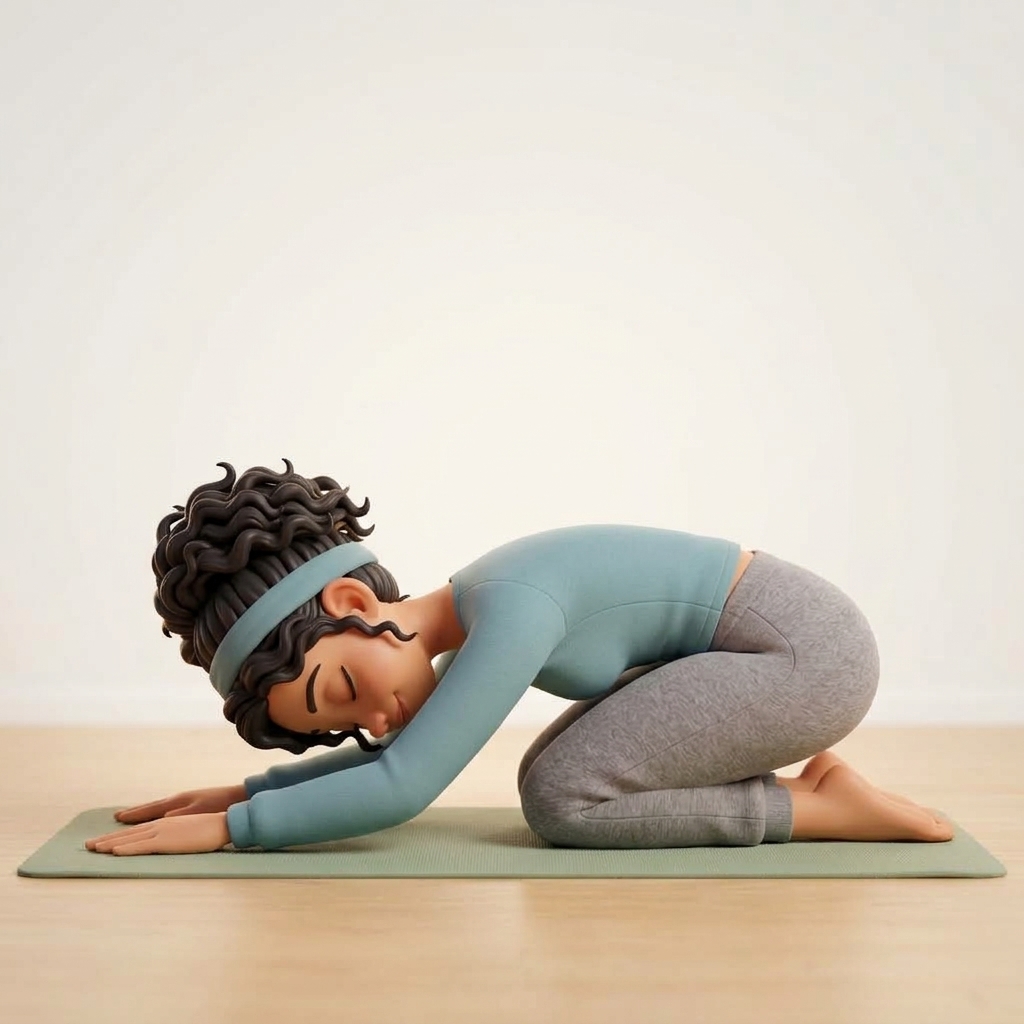
Alignment Tip: Spread knees wide to allow your lower back to relax completely forward.
How to do it:
- From tabletop, bring big toes together and widen your knees toward the edges of your mat.
- Sink your hips back toward your heels and walk your fingertips forward, resting your forehead on the floor or a yoga block.
- Allow your ribcage to soften between your thighs and breathe deeply into the back of your lungs.
Why it works: Provides gentle passive lumbar traction, opening the space between vertebrae and taking compressive tension off the spinal cord.
Pose 3: Reclining Knee-to-Chest (Apanasana)
Target Area: Piriformis, gluteal complex, and sacroiliac (SI) joints • Hold Time: 1 minute per side

Alignment Tip: Keep the opposite leg relaxed on the floor; do not strain your neck.
How to do it:
- Lie flat on your back with arms and legs extended.
- Exhale and hug your right knee into your chest, interlacing fingers around your shin.
- Gently draw the knee toward your right shoulder while keeping your left hip heavy and anchored on the mat.
- Hold for 8 deep breaths, release, and switch to the left leg.
Why it works: Releases tightness in the deep hip rotators (such as the piriformis) which frequently compress the sciatic nerve and cause pseudo-sciatica symptoms.
Pose 4: Supported Bridge Pose (Setu Bandha Sarvangasana)
Target Area: Hip flexors, psoas, and gluteal activation • Hold Time: 1 to 2 minutes

Alignment Tip: Place a yoga block under your sacrum for effortless passive decompression.
How to do it:
- Lie on your back, bend your knees, and place feet flat on the floor hip-width apart, heels close to your fingertips.
- Press into your feet to lift your hips. Slide a yoga block or firm pillow under your sacrum (the flat bone at the base of your spine).
- Rest your pelvis on the support, open arms out to your sides with palms facing up, and breathe calmly.
Why it works: Sedentary office work shortens the psoas muscle, pulling the lumbar spine forward into painful anterior tilt. Supported bridge gently extends the hip flexors while resting the lower back.
Pose 5: Legs-Up-The-Wall (Viparita Karani)
Target Area: Autonomic nervous system, hamstrings, and systemic inflammation • Hold Time: 3 to 5 minutes

Alignment Tip: The ultimate parasympathetic restorative inversion for tired lumbar muscles.
How to do it:
- Sit sideways close to an open wall, gently pivot your hips, and swing your legs up the wall while resting your shoulders and head on the floor.
- Rest your arms out at 45 degrees, close your eyes, and allow the weight of your legs to gently settle back into the hip sockets.
- Remain in this posture for 3 to 5 minutes, taking slow 4-second inhales and 6-second exhales.
Why it works: This gentle inversion completely eliminates compressive gravity on the spinal column while stimulating the vagus nerve to down-regulate the fight-or-flight pain response.
If your back pain persists despite regular stretching, the root issue is often neuromuscular holding patterns. Explore our foundational clinical research:
- Tension Myositis Syndrome (TMS) Science — How repressed tension restricts capillary oxygen.
- Desk Ergonomics & RSI Relief — How to sit, type, and work without triggering back spasms.
- Directory of Mind-Body Physicians — Connect with certified medical specialists.